How to Install WordPress in cPanel 2024 Step-by-Step Complete Guidance

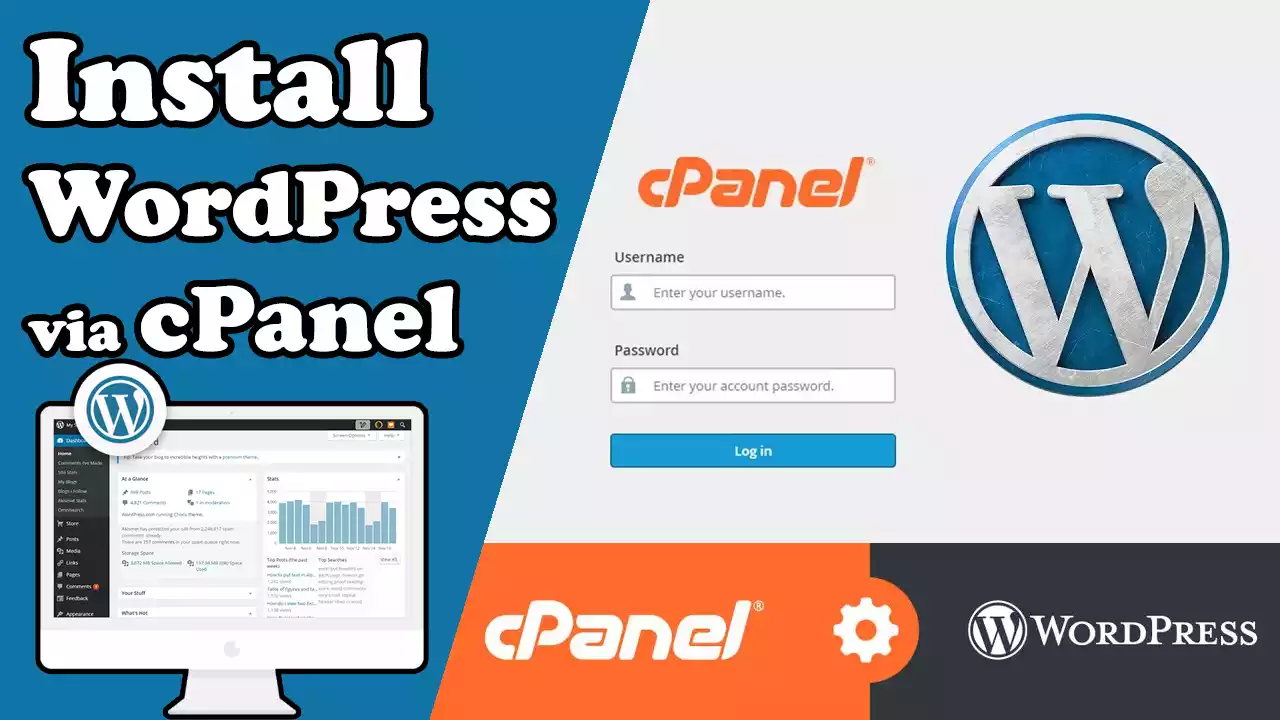
WordPress, one of the most popular content management systems (CMS), empowers millions of websites worldwide. In this step-by-step guide, we will walk you through installing WordPress in cPanel, the widely used control panel for website management. By the end of this article, you will have all the knowledge you need to set up your WordPress website on cPanel successfully. Would you like a complete video tutorial on Install WordPress in cPanel 2024 Step by Step Guidance? Then you can watch the video below the article.
Understanding cPanel and Its Benefits.
Before diving into the installation process, let’s first understand what cPanel is and why it is a popular choice for website owners. cPanel is a web hosting control panel that simplifies website management tasks, providing an intuitive interface for users to handle various aspects of their websites. Its user-friendly features, reliability, and extensive functionality make it a preferred choice for many website owners. Hey there! If you want to create a free blog website on Blogger and earn money, check out this article. It provides step-by-step instructions on setting up your blog and monetizing it. Good luck!
Preparing for WordPress Installation
To install WordPress in cPanel, a few prerequisites must be in place. Firstly, you need to have a hosting account with cPanel access. Ensure that your hosting plan supports the installation of WordPress and that you have the necessary login credentials ready. Ensure you have a domain name registered and associated with your hosting account. Would you like a complete video tutorial or Article on How to Connect GoDaddy Domain to Namecheap Hosting? Then you can visit the article.
Accessing cPanel
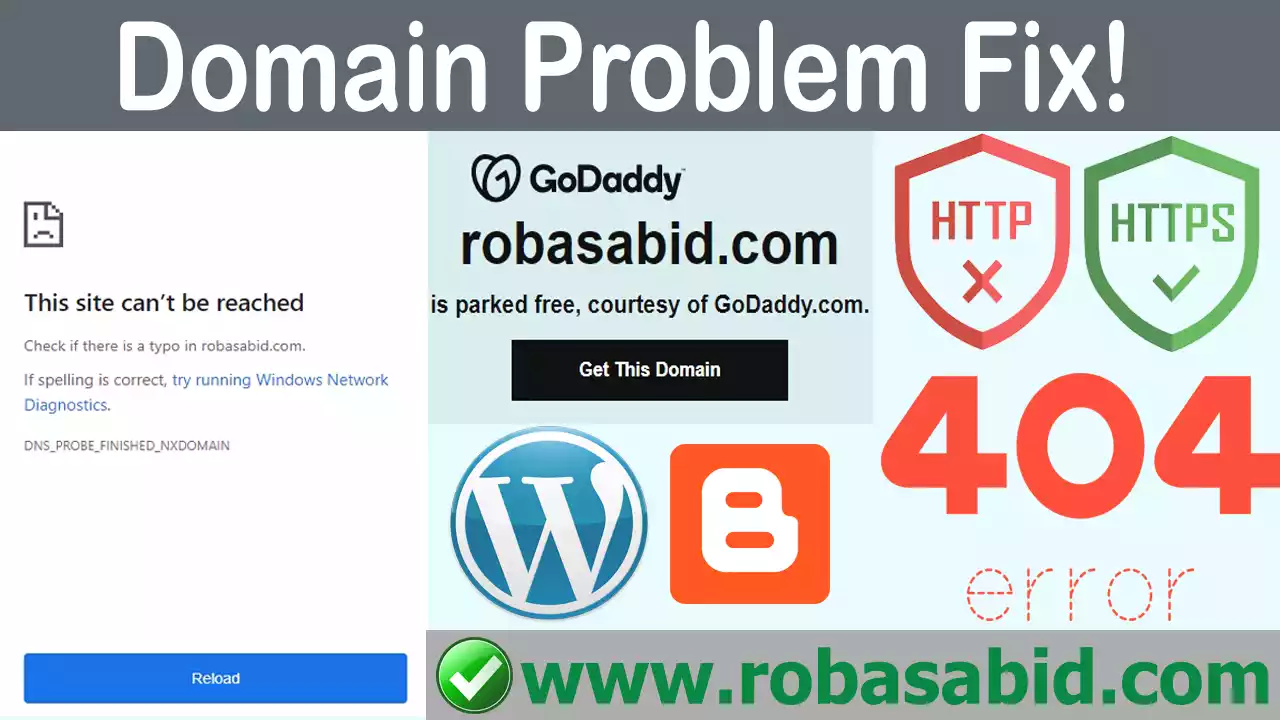
To begin the WordPress installation process, you need to access your cPanel. Typically, your hosting provider will provide you with a URL, such as yourwebsite.com/cpanel, to access your cPanel. You can enter the URL in your web browser and use the provided login credentials to access your cPanel dashboard. You can visit the Article How to Fix Redirect Godaddy Domain Issues if you have an issue with a Website Not Open Without www in the GoDaddy domain.
WordPress in cPanel.
Once you have successfully logged in to cPanel, you will be greeted with various icons and sections. To locate the WordPress installer, scroll down or use the search function within cPanel. Look for a hero or area named “Softaculous” or “WordPress Installer.” Click on the corresponding icon to proceed with the installation.
Initiating the WordPress Installation
Upon clicking the WordPress Installer icon, you will be directed to the Softaculous WordPress installation page. Here, you will find information about WordPress and an option to install it on your website. Click on the “Install Now” button to begin the installation process.
Configuring the WordPress Installation
The installation page will prompt you to enter various details to configure your WordPress installation. Let’s go through the basic settings:
- Choose Protocol: Select the appropriate protocol for your website, usually “http://” or “https://,” depending on whether you have an SSL certificate.
- Choose Domain: If multiple domains are associated with your cPanel account, choose the domain where you want to install WordPress.
- In Directory: Leave this field blank unless you want to install WordPress in a subdirectory. If you want your WordPress site accessible from your primary domain, keep it empty.
- Site Name: Enter the name of your website.
- Site Description: Provide a brief description of your website.
- Admin Username: Choose an admin username for your WordPress site.
- Admin Password: Set a secure password for the admin account.
- Admin Email: Enter the email address associated with the admin account.
After entering the necessary information, please review the other available settings and adjust them according to your preferences. However, the default settings are usually sufficient for most users. Once satisfied with the configuration, click the “Install” button to proceed.
Finalizing the Installation
Softaculous will now start the installation process, which only takes a few moments. Once the installation is complete, you will receive a confirmation message. It will also provide URLs for accessing your WordPress website’s front-end and back-end.
Exploring the WordPress Dashboard
Congratulations! You have successfully installed WordPress on your cPanel. To access your WordPress dashboard, click on the provided admin URL or enter yourwebsite.com/wp-admin in your web browser. Log in using the admin username and password you set during installation.
Customizing Your WordPress Website
With WordPress installed, you can customize your website to suit your preferences. Explore the wide range of themes and plugins available in the WordPress repository to enhance the appearance and functionality of your website. You can install and activate themes and plugins directly from your WordPress dashboard.
Conclusion
In this comprehensive guide, we walked you through the step-by-step process of installing WordPress in cPanel. From understanding the benefits of cPanel to finalizing the WordPress installation, you now know how to build your website on this powerful platform. Regularly update WordPress, themes, and plugins to ensure your website’s security and optimal performance. Harness the flexibility and ease of use that WordPress and cPanel offer, and enjoy the journey of creating a remarkable online presence for your business or personal ventures.


