Connect the GoDaddy Domain to Namecheap Hosting in 2024 Complete Guidance
Are you ready to launch your website? Congratulations! In today’s digital age, a solid online presence is essential for businesses and individuals. You’ll need a domain name and web hosting to get started. In this article, we’ll be able to guide you through connecting your GoDaddy domain to Namecheap hosting and installing WordPress, one of the most popular content management systems (CMS) available. By following these steps, you’ll be well on your way to creating a professional and functional website.
GoDaddy Domain to Namecheap Hosting
Before diving into the technical steps, let’s take a moment to understand domain names and web hosting. A domain name is a unique address people type into their web browsers to access your website (e.g., www.yourwebsite.com). On the other hand, web hosting is the service that allows your website’s files and data to be stored and accessed on the internet. GoDaddy and Namecheap are two well-known providers in the industry, offering domain registration and web hosting services. If you need to learn how to connect the Godaddy domain to Namecheap hosting, watch our video; I have embedded the video below.
Purchasing a Domain from GoDaddy
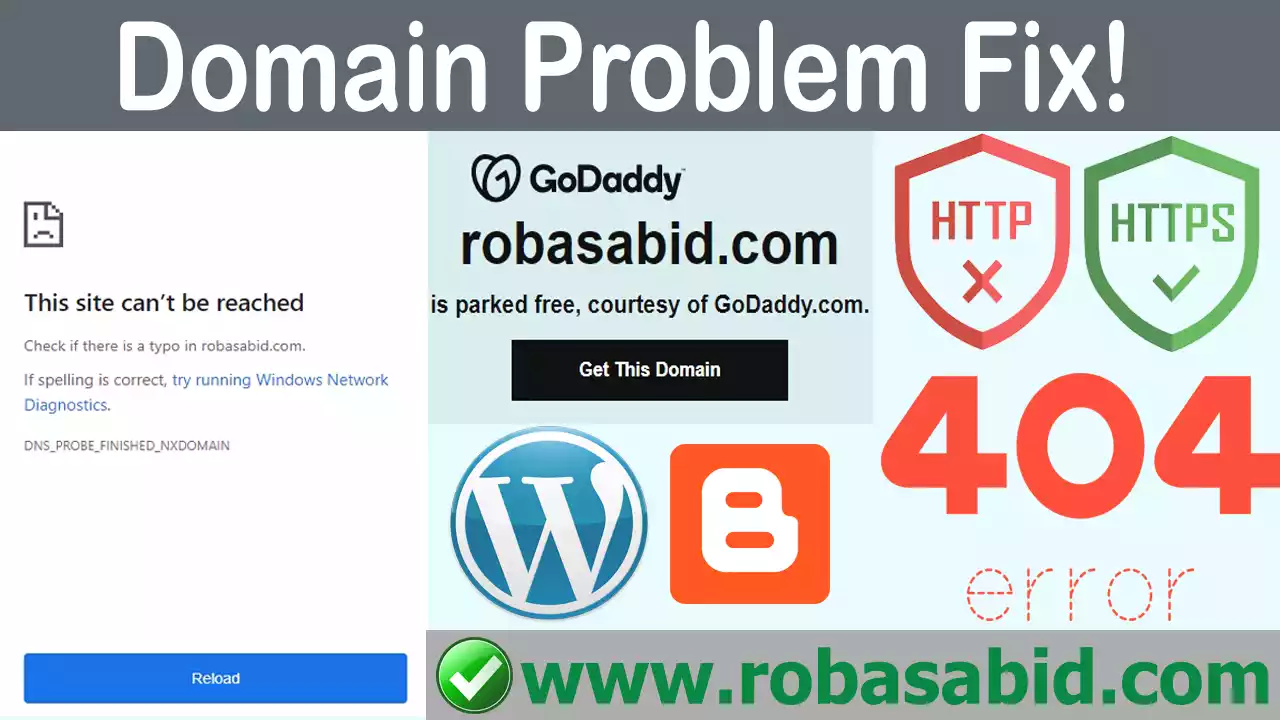
If you still need to, head to the GoDaddy website (www.godaddy.com) and search for your desired domain name. Add it to your cart and checkout once you’ve found the perfect one. Follow the instructions to complete the purchase, providing accurate contact information. It’s important to note that GoDaddy offers various domain extensions, such as .com, .net, .org, and more, so choose the one that suits your website best. You can visit the How to Fix Redirect Godaddy Domain Issues if you have an issue with a Website Not Open Without www in the GoDaddy domain.
Signing up for Namecheap Hosting
Now that you have your domain name, it’s time to set up hosting Godaddy Domain to Namecheap Hosting. Visit the Namecheap website (www.namecheap.com) and select the hosting plan that fits your needs. Namecheap offers different hosting packages, including shared hosting, WordPress hosting, and more. Compare the features and prices to make an informed decision. Once you’ve chosen your plan, proceed with the signup process, providing the necessary details and paying. Hey there! If you’re interested in creating a free blog website on Blogger and earning money from it, I recommend checking out this article. It provides step-by-step instructions on how to set up your blog and start monetizing it. Good luck!
Retrieving Namecheap Nameservers
After signing up for Namecheap hosting, you’ll receive a welcome email with important information. Could you look for the email and locate the nameservers provided by Namecheap. Nameservers connect your domain to your hosting server like the internet’s phonebook. Please remember these nameservers; we need them later to secure your GoDaddy domain.
Configuring GoDaddy Domain Settings
Navigate to the “My Products” area of your GoDaddy account. Find the domain you purchased and click on the “DNS” button or “Manage DNS” option. Look for the nameservers section and choose the “Custom” option. Enter the nameservers you obtained from Namecheap and save the changes. It may take some time for the changes to propagate across the internet.
Installing WordPress on Namecheap Hosting
Now that your domain and hosting are connected installing WordPress is time. Namecheap offers a convenient way to install WordPress through its hosting control panel. Log in to your Namecheap account and access your hosting account’s cPanel (control panel). Look for the “WordPress” or “Softaculous Apps Installer” icon and click on it. To install WordPress on your domain, follow the on-screen instructions. You’ll be asked to provide basic information, such as your website name, username, and password. You can visit our article to learn how to connect a custom domain with blogger hosting for free.
Customizing Your WordPress Website
Congratulations! You have successfully installed WordPress. Now it’s time to customize your website and make it your own. Access your WordPress dashboard by entering your domain name and “/wp-admin” (e.g., www.yourwebsite.com/wp-admin). From here, you can choose from thousands of free and premium themes to change the look and feel of your site. Install plugins to add functionality, create pages, write blog posts, and upload media. Explore WordPress’s different settings and options to optimize your website according to your preferences. To add a custom scrollbar in WordPress, you can follow our step-by-step guide on How to Add a Custom Scrollbar in WordPress. It’s an easy process and our article will walk you through it.
Securing Your Website
While setting up your website, it’s crucial to prioritize its security. Here are a few actions you may do to improve the security of your WordPress site:
- Update WordPress, themes, and plugins regularly to the most recent versions.
- Use strong and unique passwords for your WordPress admin account and hosting account.
- Install a reputable security plugin like Wordfence or Sucuri to monitor and protect your website against malware and hacking attempts.
- Implement SSL encryption to secure data transmission between your website and visitors.
- Please take regular backups of your website to ensure you can restore it in case of any unforeseen issues.
Publishing Your Website
Once you have customized your website, added content, and ensured its security, it’s time to publish it for the world to see. Visit your domain in a web browser to check if everything is working correctly. Make any necessary adjustments to optimize the user experience. Consider adding essential pages like “About,” “Contact,” and “Privacy Policy.” Test your website’s performance and load time using tools like Google PageSpeed Insights or GTmetrix. Aim to provide a fast and seamless experience for your visitors.
Conclusion
Congratulations on successfully connecting your GoDaddy domain to Namecheap hosting and installing WordPress! You’ve taken a significant stride toward establishing your online presence by following these steps. Remember to regularly update your website, create engaging content, and implement SEO strategies to improve its visibility in search engine rankings. Feel free to explore additional resources and seek guidance from the vibrant online community to enhance your website’s performance. Good luck with your website journey!