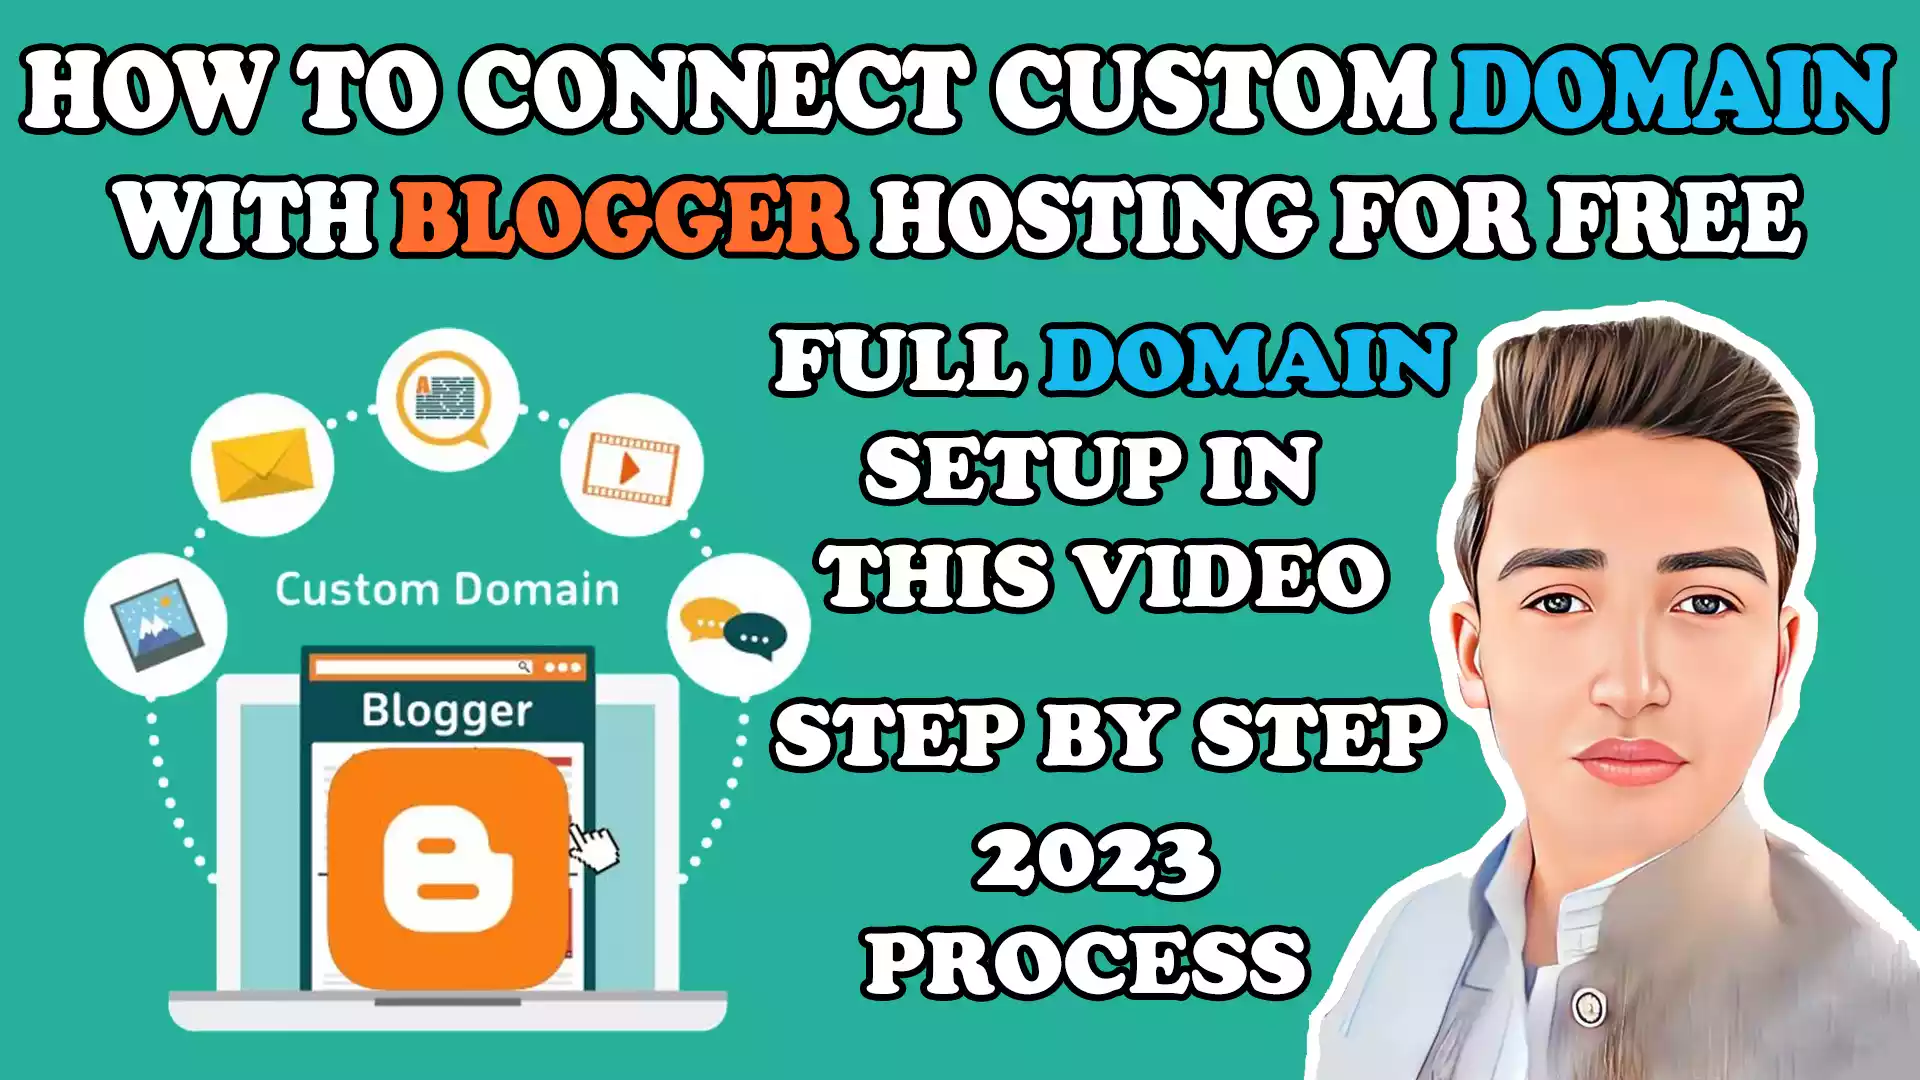
Connect a Custom Domain with Blogger Hosting Free 2024

Are you looking to give your Blogger blog a more professional touch? One effective way is by connecting a custom domain to your Blogger hosting. A personalized domain can establish a unique online presence and improve your blog’s credibility. This article guides you through connecting a custom domain with Blogger hosting. So, let’s dive in and make your blog stand out!
Why Connect a Custom Domain with Blogger Hosting?
Having a custom domain for your Blogger blog offers several advantages. Firstly, it enhances your blog’s professionalism and brand identity, making it easier for visitors to remember and share your website. Additionally, a custom domain provides better search engine visibility, potentially boosting your blog’s organic rankings. You can create personalized email addresses with a unique domain, giving you a more professional communication channel. Do you know How to Create a Free Blog and Earn Money?
Choosing the Perfect Domain
When selecting a custom domain, it’s essential to consider a few key factors. Aim for a domain name relevant to your blog’s niche and reflects its purpose. Make it concise, easy to spell, and memorable. Avoid using numbers, hyphens, or complicated spellings that may confuse your audience. Conduct thorough research to ensure your desired domain is available and doesn’t infringe on trademarks.
Registering a Custom Domain
To connect a custom domain, you’ll need to register it with a domain registrar. Numerous reputable registrars, such as GoDaddy, Namecheap, and Google Domains, are available. Compare prices, domain management features, and customer support before choosing the most suitable option. Once you’ve selected a registrar, follow their registration process, providing the necessary information and paying.
Configuring DNS Settings
After registering your custom domain, you must configure its DNS (Domain Name System) settings to point to your Blogger hosting. DNS allows visitors to access your blog by translating your domain name into an IP address. Access the DNS management section of your domain registrar’s website and locate the DNS settings for your domain. Add or edit the “A” and “CNAME” records as instructed by Blogger, pointing them to the appropriate Blogger IP addresses.
Adding the Domain to Your Blogger Account
With your DNS settings configured, it’s time for you to add the custom domain to your Blogger account. Navigate to the “Settings” page after logging into your Blogger dashboard. Under the “Publishing” section, click on the “+ Setup a 3rd party URL for your blog” option. Enter your custom domain in the provided field and click “Save.” Blogger will verify if the domain settings have been correctly configured and prompt you to proceed if everything is in order. Do you know how to Connect Custom Domain with Blogger Hosting? I’ve included the video link below.
Setting Up Domain Redirects
To ensure a seamless transition from your old blog URL to the new custom domain, it’s crucial to set up proper redirects. This ensures that visitors who access your blog using the old URL are automatically redirected to the new domain. Blogger offers built-in redirection options, allowing you to easily redirect traffic from your old Blogspot subdomain to your custom domain. You can enable and test the redirection feature to ensure it works correctly.
Enabling HTTPS for Secure Browsing
With cybersecurity concerns rising, enabling HTTPS (Hypertext Transfer Protocol Secure) for your blog is essential. HTTPS encrypts the data between your visitors and your website, ensuring a secure browsing experience. To enable HTTPS on your custom domain, log in to your Blogger dashboard and navigate to the “Settings” tab. Under the “HTTPS” section, select the option to redirect your domain to HTTPS. Blogger will automatically obtain an SSL certificate for your domain.
Verifying Domain Ownership
Before the custom domain becomes fully functional, you’ll need to verify your domain ownership. Blogger provides a verification process to confirm that you have the necessary rights to use the domain. The verification typically involves adding a unique TXT or CNAME record from Blogger to your DNS settings. If you are okay with it, you’ll need to follow the instructions provided by Blogger’s verification process to complete this step successfully.
Troubleshooting Common Issues
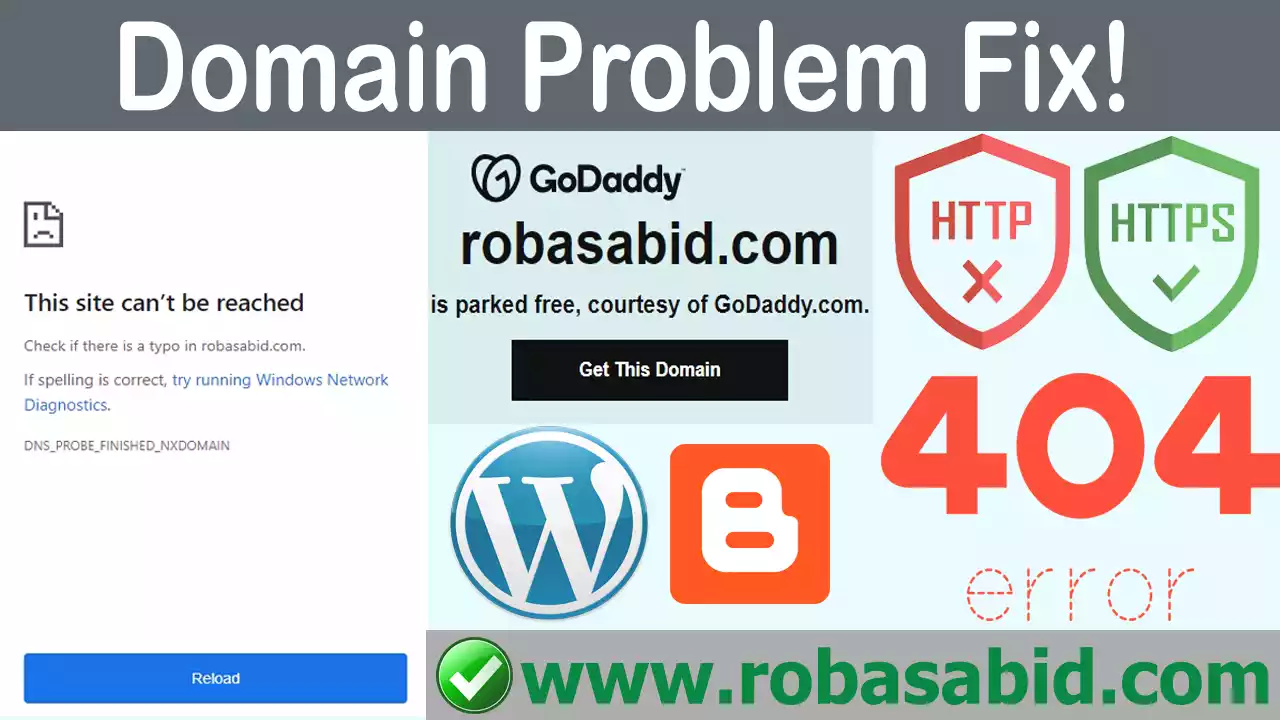
While connecting a custom domain with Blogger hosting is usually straightforward, you may encounter some common issues. These can include DNS propagation delays, incorrect DNS settings, or problems with domain verification. If you face difficulties, refer to Blogger’s comprehensive documentation and troubleshoot accordingly. Additionally, contact your domain registrar’s support team for assistance if needed.
Best Practices for Domain Connectivity
To ensure a smooth transition and optimal performance of your custom domain on Blogger, follow these best practices:
- Maintain the accuracy and timeliness of your DNS records.
- Please keep an eye on your domain settings and expiration dates.
- Maintain backups of your blog’s content and settings.
- Renew your domain registration promptly to prevent expiration.
- Stay updated with Blogger’s announcements and new features.
- Engage in relevant communities and promote your blog to increase visibility.
Conclusion:
Connecting a custom domain with Blogger hosting is a fantastic way to enhance your blog’s appearance, professionalism, and search engine visibility. By following the step-by-step process outlined in this article, you’ll be well on your way to establishing a unique online presence that stands out from the competition. Remember to choose a suitable domain, configure DNS settings, add the domain to your Blogger account, and optimize for security and smooth functionality. Take your Blogger blog to the next level with a custom domain!


